
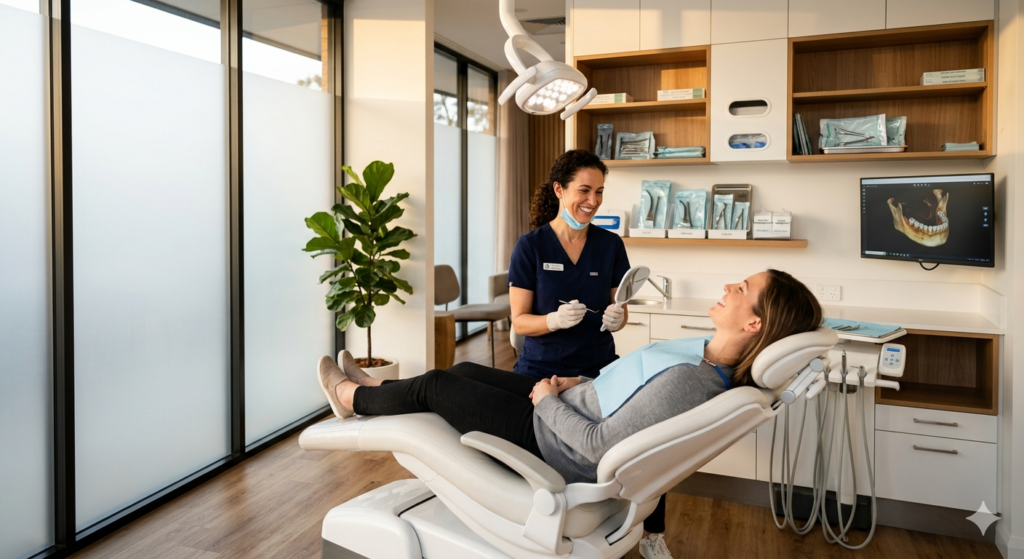
You want dental implants to last and feel comfortable every day. Stick to simple daily habits—brushing, flossing around implants, and using recommended tools—because they prevent most problems and keep implants stable for years.
A caring dental team still matters: regular professional cleanings, timely checkups, and quick attention to irritation catch issues early. The article breaks down practical routines, when to call your dentist, and lifestyle choices that protect implants so you can smile confidently.
Daily Habits for Long-Lasting Implants
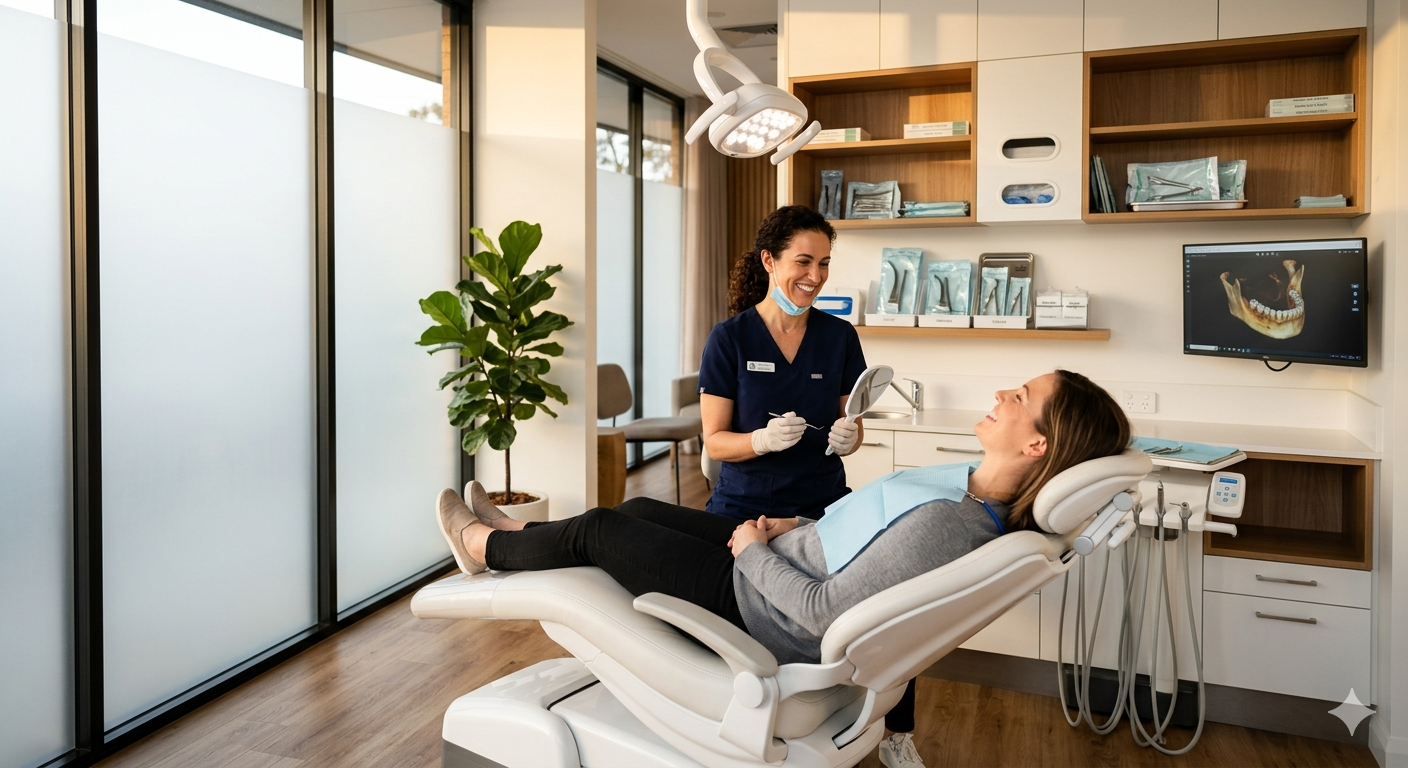
Daily care focuses on gentle but thorough cleaning, choosing tools that protect the implant surface and surrounding gum, and using interdental methods to remove plaque from tight spaces. Consistent habits reduce inflammation, prevent bone loss, and keep restorations looking natural.
Gentle Brushing Techniques
He should brush twice daily using light, controlled strokes that clean around the implant crown and gum line without abrading the implant-abutment junction. Use a soft-bristled brush and tilt the brush 45° toward the gum to sweep plaque away from the implant and neighboring teeth.
Avoid aggressive scrubbing or horizontal sawing motions that can irritate peri-implant tissues. Short, overlapping strokes work best — cover each quadrant for about 30 seconds to reach all surfaces without overbrushing.
If sensitivity or redness appears, they should pause and contact their dentist. A fluoride toothpaste that is non-abrasive helps protect adjacent teeth; avoid whitening pastes with high abrasivity on the implant crown.
Selecting the Right Toothbrush
They should choose a soft-bristled, small-head toothbrush to access posterior implants and reduce pressure on gums. Electric toothbrushes with pressure sensors and oscillating-rotating or sonic action often remove more plaque with less force than manual brushing.
When selecting an electric brush, look for models with a small brush head, soft bristles, and a pressure indicator that alerts when pressing too hard. Replace brush heads every 3 months or sooner if bristles splay.
Travel brushes should mirror home choice — soft bristles and a compact head. For patients with limited dexterity, a powered brush can improve consistency and reduce the risk of traumatic brushing.
Interdental Cleaning Methods
They must clean between implants and adjacent teeth daily to remove plaque where a toothbrush can’t reach. Use interdental brushes sized to the gap (typically 0.6–1.4 mm for most implant sites), sliding them gently without forcing; a snug fit that glides with light pressure is ideal.
For very tight contacts, use waxed dental floss or superfloss threaded under the restoration. Floss handles or water flossers provide alternatives: an oral irrigator set to low-medium pressure effectively flushes food debris and reduces soft-tissue inflammation when used correctly.
If bleeding, persistent odor, or looseness occurs despite diligent interdental care, they should schedule an appointment promptly. The clinician can measure pocket depths and recommend a specific interdental tool or professional cleaning frequency.
Professional Care and Checkups
Regular professional attention keeps implants stable, healthy, and functioning. Patients benefit most from scheduled exams, targeted cleanings, and prompt treatment of any early signs of inflammation or mechanical issues.
Importance of Routine Dental Visits
They should see a dentist every 3–6 months initially, then at least every 6–12 months once implants are stable. These visits let the team assess gum health, check for bone loss on radiographs, and verify that crowns and abutments fit properly.
During each visit, clinicians will:
- measure probing depths around implants,
- review occlusion and chewing forces, and
- take bite-wing or periapical X-rays when indicated.
Early detection of peri-implant mucositis or peri-implantitis prevents progression to bone loss. Timely adjustments to prosthetics or occlusion reduce the risk of screw loosening and implant fracture. Patients should report any new mobility, soreness, or changes in chewing between visits.
Specialized Implant Cleanings
Implant cleanings differ from natural-tooth cleanings because scalers and polishers must avoid damaging implant surfaces. Clinicians use plastic, titanium, or ultrasonic tips designed for implants plus nonabrasive paste to remove biofilm without scratching.
A typical implant maintenance appointment includes:
- sterile instrument scaling of the implant surface,
- air polishing with glycine or erythritol powder for subgingival biofilm, and
- careful flossing or interdental brush instruction tailored to the prosthesis.
Hygienists will teach device selection (floss threaders, interdental brushes, water flossers) based on the restoration type. They will also schedule more frequent visits if inflammation, plaque accumulation, or prosthetic gaps are present.
Preventing Common Implant Issues
Preventing problems starts with consistent home care and regular professional checks. Small daily steps and timely professional attention keep implants stable, healthy, and functional.
Protecting Against Gum Inflammation
Gum inflammation (peri-implant mucositis) often begins with plaque buildup at the implant-abutment junction. The patient should brush twice daily with a soft-bristled brush and use a low-abrasive toothpaste to avoid scratching the implant crown or abutment. Interdental cleaning is critical: floss designed for implants, interdental brushes with nylon-coated wire sized to the embrasure, or water flossers remove plaque where bristles miss.
The clinician should recommend professional cleanings every 3–6 months initially, then tailor interval based on risk factors such as smoking, diabetes, or history of periodontitis. During visits, hygienists use non-metal instruments (plastic or titanium) to avoid damaging implant surfaces. If early inflammation appears, antiseptic rinses (0.12% chlorhexidine short-term) and targeted scaling can reverse mucositis before bone loss occurs.
Signs of Implant Problems
Early detection relies on specific, observable signs rather than vague discomfort. The patient may notice persistent redness, swelling, bleeding when brushing or flossing around the implant, or increased pocket depth on probing by the dentist. New or worsening mobility of the crown, a change in bite, or recurrent pus/abscess formation indicate more advanced peri-implantitis that requires prompt intervention.
The dental team monitors radiographs for crestal bone loss at follow-ups. If bone loss is visible or the implant shows mobility, treatment options range from localized debridement and antibiotics to surgical access with regenerative procedures. The patient should contact their clinician promptly if they observe any of these signs to increase the chance of saving the implant.
Lifestyle Factors That Help
Implant longevity depends on daily choices that support bone health and oral hygiene. Small, consistent habits—what someone eats and whether they smoke—have outsized effects on osseointegration and long-term stability.
Diet Choices for Healthy Implants
Recommend a balanced diet rich in calcium and vitamin D to support jawbone density. Dairy (yogurt, milk, cheese), leafy greens (kale, spinach), and fortified foods supply calcium, while fatty fish (salmon, mackerel) and fortified milk offer vitamin D. If someone has low dietary intake, a dentist or physician can advise supplements and appropriate doses.
Encourage adequate protein for tissue repair after surgery—lean poultry, eggs, beans, and low-fat dairy are good choices. Limit hard, chewy, or very sticky foods during the initial healing phase (about 2–3 months) to avoid undue stress on the implant. Reduce acidic and sugary foods that worsen gum inflammation and bacterial growth; rinse with water after consuming them.
Hydration matters: drinking water helps saliva neutralize acids and clear food debris. If a patient uses supplements—especially bisphosphonates or steroids—coordination with medical providers is essential because certain medications affect bone healing and implant candidacy.
How Smoking Affects Healing
Smoking reduces blood flow to the gums and impairs immune response, which directly hinders bone healing around implants. Nicotine and combustion byproducts constrict blood vessels, slowing the delivery of oxygen and nutrients needed for osseointegration and increasing the risk of implant failure.
Smokers face higher rates of infection, delayed soft-tissue healing, and greater bone loss around implants compared with non-smokers. Quitting at least several weeks before surgery and avoiding tobacco for several months afterward improves outcomes; continuing to smoke long-term raises the chance of complications substantially. Offer nicotine-replacement options and referrals to smoking-cessation programs when appropriate.
Advise patients to mention vaping or smokeless tobacco use, as these also affect healing. Regular follow-up visits and stricter oral hygiene are especially important for any patient who cannot stop using tobacco.
Managing Discomfort and Healing
After implant surgery, expect some predictable sensations: controlled swelling, mild to moderate pain for a few days, and gradual tissue tightening. Following specific care steps and contacting the dental team for unusual signs keeps healing on track.
Reducing Post-Surgery Sensitivity
They should use ice packs on the cheek for 15 minutes on, 15 minutes off during the first 24 hours to minimize swelling and reduce nerve irritation. Taking prescribed or recommended analgesics—typically ibuprofen 400–600 mg every 6–8 hours or acetaminophen 500–1000 mg every 4–6 hours—controls pain; they should follow dosing limits and consult their dentist before combining medications.
Dietary choices matter: stick to cool, soft foods (Greek yogurt, mashed potatoes, smoothies) for 3–7 days and avoid hot, spicy, or crunchy items that can irritate the site. They must avoid using straws and smoking for at least two weeks because suction and tobacco delay clot formation and increase sensitivity. Gentle oral hygiene—soft-bristled brush nearby and chlorhexidine rinse twice daily if recommended—reduces bacterial irritation without disrupting the implant site.
If numbness, severe throbbing, fever over 101°F (38.3°C), or increasing swelling occurs after 48–72 hours, they should contact the dentist immediately; these signs suggest infection or nerve involvement requiring prompt evaluation.
What to Expect During Recovery
Typical recovery follows a predictable timeline: acute pain and swelling peak at 48–72 hours, then steadily improve over 7–14 days. Soft-tissue healing usually completes in 2–4 weeks, while bone integration (osseointegration) proceeds over 3–6 months depending on bone quality and systemic factors like diabetes or smoking.
Follow-up visits occur within 1–2 weeks to remove sutures if needed and at periodic intervals to check soft tissue and radiographic bone changes. They should report looseness, persistent bleeding beyond 48 hours, or mobility of the temporary restoration right away. Routine oral hygiene resumes gradually; recommended brushing technique uses a soft brush with gentle strokes around the implant and interdental cleaning with water flossers or implant-specific picks after tissue tolerance improves.
Adherence to antibiotic courses (if prescribed), avoiding heavy exertion for 48–72 hours, and attending scheduled maintenance appointments significantly increase the chance of smooth recovery. The dental team will adjust instructions based on healing progress and any medical conditions to protect long-term success.
Caring for Implant-Supported Bridges and Dentures
Implant-supported bridges and dentures attach to implants differently than natural teeth, so they need a tailored routine. They provide stability but still require daily cleaning to prevent plaque buildup and protect surrounding gums.
She should clean around each implant post using a soft-bristled toothbrush and low-abrasive toothpaste. Brushing twice daily and rinsing after meals reduces food traps and bacterial growth.
They should use interdental brushes or floss designed for implants to reach between the prosthesis and gums. A gentle angled brush often works best where space is limited.
Daily use of a non-alcohol antiseptic mouthwash can help control bacteria without drying tissues. It complements mechanical cleaning but does not replace brushing and interdental care.
For removable implant overdentures, the patient should remove and rinse the prosthesis nightly. Soaking in a denture cleaner, then brushing the appliance and gums, keeps both fresh and irritation-free.
Schedule professional check-ups and cleanings every 3–6 months or as the dentist recommends. The clinician will examine attachment wear, tighten loose components, and remove hardened deposits that home care can’t reach.
Watch for signs like persistent redness, swelling, or mobility of the prosthesis and report them promptly. Early intervention preserves implant health and comfort.
Table: Quick care checklist
- Brush twice daily with a soft brush
- Clean interdental spaces daily (interdental brush or implant floss)
- Rinse with an antiseptic mouthwash
- Remove and soak removable prostheses nightly
- Keep regular dental follow-ups
They should ask their dental team about technique demos or specific tools that match their prosthesis and lifestyle.
When to Reach Out to Your Dentist
If the implant site becomes red, swollen, or painful and symptoms persist beyond 48 hours, the patient should contact their dentist. These signs can indicate infection or inflammation that needs prompt attention.
If an implant feels loose or moves at all, the patient must call the clinic right away. Implants should remain stable; any mobility suggests a problem with integration or supporting bone.
Bleeding that continues after gentle pressure for more than a few hours requires professional evaluation. Excessive or recurrent bleeding can signal healing complications or issues with surrounding tissues.
If the patient notices pus, a bad taste, or new persistent bad breath localized around the implant, they should schedule an appointment. These are common signs of peri-implant disease that benefit from early treatment.
Difficulty chewing, sudden changes in bite, or pain when biting down justify a check-up. These symptoms may reflect crown fit issues, implant overload, or underlying tooth problems nearby.
For routine concerns—soreness after hygiene, minor sensitivity, or questions about cleaning technique—the patient can book a preventive visit. Regular follow-up helps catch small issues before they escalate.
Emergency contact info and post-op instructions should be kept handy. If in doubt, reaching out sooner gives the dentist a chance to assess and advise, relieving worry and protecting the implant.
Frequently Asked Questions
These answers cover practical steps for daily cleaning, the best tools to use, timing after surgery for normal home care, what happens at a professional maintenance visit and how often to schedule one, warning signs that need prompt attention, and typical cost and insurance considerations.
How should I clean around my implant at home to keep my gums healthy?
They should brush twice daily with a soft-bristled toothbrush, using gentle, short strokes along the gumline. Brushing should include the implant crown surfaces and adjacent teeth to remove plaque.
They should clean between teeth and around the implant once daily with an interdental brush or floss designed for implants. Make one clean pass each interdental space and avoid snapping the floss to prevent soft-tissue trauma.
Rinsing with an alcohol-free antimicrobial mouthwash can reduce bacterial load when recommended by the dentist. Use the mouthwash once daily or as instructed.
Which tools work best for cleaning implants, like interdental brushes, floss, or a Waterpik?
Interdental brushes with a nylon-coated wire and the proper size are often the most effective for implants. They access the space around the implant and remove plaque without damaging the implant surface.
Floss specifically made for implants or super-floss can be used where interdental brushes don’t fit. Wrap the floss gently around the implant crown and slide it up and down beneath the gumline without forcing.
A Waterpik (oral irrigator) can be an excellent adjunct for reducing debris and biofilm, especially for patients with limited dexterity. Use low-to-medium pressure and keep the tip directed slightly away from the gum sulcus to avoid forcing water deep into tissues.
How soon after implant surgery can I resume brushing, flossing, and using an oral irrigator?
They should follow the surgeon’s specific timeline, but light brushing around the surgical site is often allowed 24–48 hours after surgery. Use a very soft brush and avoid vigorous scrubbing.
Flossing around the implant usually resumes when the tissue has sufficiently healed—commonly 1–2 weeks post-op for simple cases. If a provisional prosthesis is present, the dentist will advise when flossing beneath it is safe.
Oral irrigator use is typically postponed for 1–2 weeks or until the clinician confirms soft-tissue healing. Patients should start with the lowest pressure setting and report any increased bleeding or discomfort.
What does a professional implant maintenance visit include, and how often should I schedule one?
A maintenance visit usually includes an oral exam, assessment of implant stability and surrounding tissue, professional cleaning with non-metal instruments, and radiographs when indicated. The hygienist will remove plaque and calculus with plastic or titanium instruments and polish the crown.
Dentists or hygienists also check occlusion and prosthetic components for looseness or wear. They will document pocket depths around the implant to monitor for peri-implant disease.
Routine maintenance frequency is commonly every 3–6 months for the first year, then every 3–12 months depending on risk factors. Patients with history of periodontal disease, smoking, or diabetes often need visits every 3–4 months.
What warning signs (like bleeding, bad taste, or tenderness) mean I should call my dentist about my implant?
They should call if the gum around the implant bleeds persistently during brushing or flossing. Bleeding that does not resolve within a few days after minor cleaning changes can signal inflammation.
A persistent bad taste or bad breath that doesn’t improve with oral hygiene may indicate infection. Foul drainage, increasing tenderness, or swelling are more urgent and warrant same-day evaluation.
If the implant feels loose, the crown moves, or biting causes new pain, they should contact the dentist immediately. Looseness can indicate mechanical failure or bone loss requiring prompt treatment.
How much do routine implant checkups and cleanings typically cost, and are they usually covered by insurance?
Typical out-of-pocket costs for a professional implant maintenance visit range from about $80 to $200 per visit in many regions. Prices vary by practice, procedures performed, and whether radiographs are included.
Some dental insurance plans cover periodic maintenance and cleanings similar to natural-tooth hygiene visits, but coverage for implant-specific services varies. Patients should check plan details and confirm with their dental office before the appointment.
Many practices offer dental savings plans or financing to reduce out-of-pocket costs. They should ask the clinic about payment options and whether a preauthorization is advisable.